
Thursday, December 31, 2015


Wednesday, December 30, 2015
Turmoil and tranquility
In early November I decided to lift myself out of a funk by sewing, without much idea of what was going to happen to the sewed-up bits. Here's what I had on the wall on November 13, and thought that I might do a composition where the black morphed into red.

I sewed a lot more bits and pieces and by the week before Christmas it looked like this below, with all the black part sewed together and most of the red part still in pieces. Still thinking of a single quilt with two colors. The line between black and red seemed pretty harsh so I figured I would need to make some transition blocks to get from one color to the next.

But after I looked at the red and black together on the wall, with the help of my art pal Marti, I had a thought -- what if this were two quilts instead of one? I could submit the black part as tranquility and the red part as turmoil.
Since we didn't have much planned in the way of holiday festivities, I got to sew on Christmas Eve and a bit even on Christmas Day, and by this week I had the black one quilted!


----
update: linking this to Nina-Marie's blog; check out what other artists are doing this week.
Monday, December 28, 2015
Christmas presents
Several years ago we made a policy decision to abandon Christmas presents within our family. Obviously Ken and I, like any decades-married old couple, have all the stuff we'll ever need and then some, so it was hard for our children to come up with any new stuff that would be well received. And as the children became adults, it was hard for us to come up with anything that they would appreciate. We guessed at one another's reading or music preferences and usually missed the mark; we gave sweaters or shirts that didn't really fit or sing. So we gave up, and in retrospect, both generations agree it was one of the best family decisions ever.
This year, though, I had an idea. I own too many things and am looking for opportunities to divest myself. So at Christmas dinner I approached the two daughters-in-law and one granddaughter and gave them their choice of a whole lot of jewelry that sits unused in my drawers. Much of what I put out for grabs came from my mother, who had a huge collection of fabulous jewelry, most of which I find way too heavy to wear myself. But the one Zoe chose was a beautiful tiny opal necklace, which Ken gave me many years ago.


Here's Kristin with a massive gold chain that also was my mother's. It goes so well with her white turtleneck that I hope she will always wear the two together.

Sunday, December 27, 2015
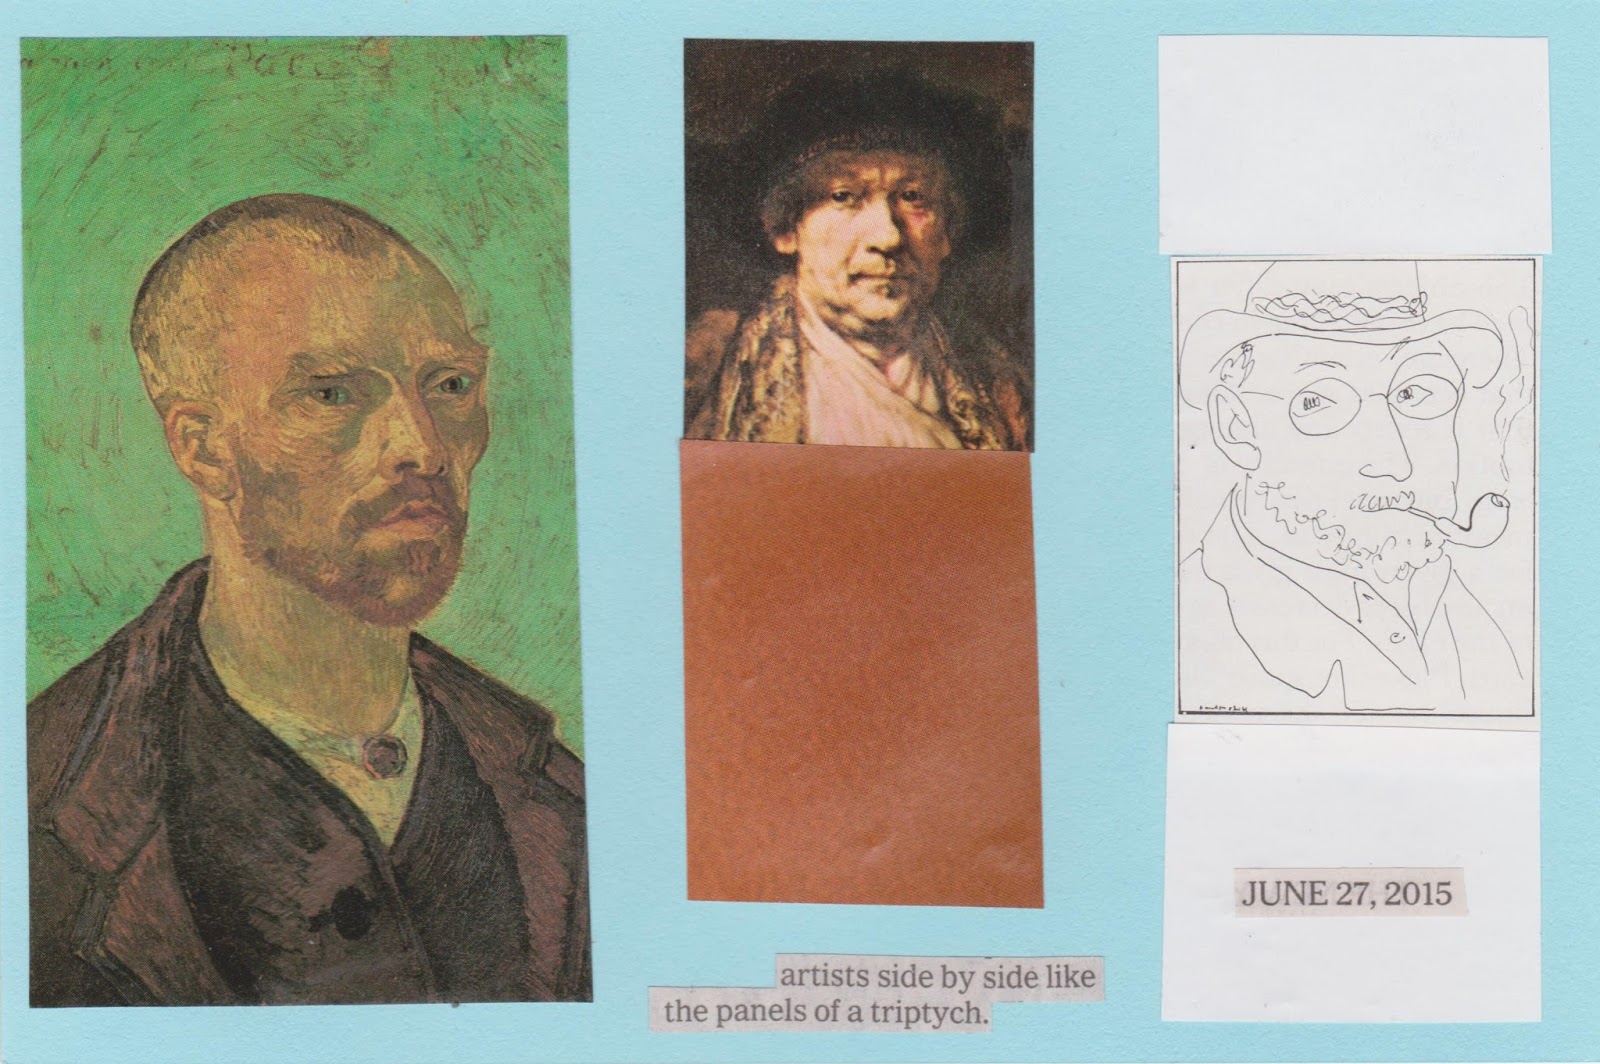
Photo suite 208 -- best of collage
As the year ends, so does my three-year daily collage project. Here are some of my favorites from 2015. (check them all out here)


Friday, December 25, 2015
Christmas ornaments 2015
Everybody who's getting an ornament this year should have already opened it, so I should be safe in showing you what they look like. After a couple of years of textiles I had the urge to do a new material this time and chose wood. The construction process was a learning experience, some of which I will share with you.
Lesson 1: if you're trying out a new material that might possibly break, bend, melt, split or otherwise lose its structural integrity while you work on it, buy some extras. A lot of extras.
Lesson 2: if you need to make 50 ornaments and they have only 42 blank whatevers in the store, do not buy them and figure you will come back later to get more.
After a lot of cussing and fussing I decided to call this the year of wabi sabi ornaments, referencing the grand Japanese tradition of mending, using and treasuring objects that are beat up and hard worn. The plan was to emboss people's names onto the ornaments by whapping in my steel letter punches. That worked great except for the ones that split (see Lesson 1). At first I threw away the ones that split. Later I decided I had to mend them and use them anyway, since I was unable to buy more blanks (see Lesson 2).

Merry Chistmas to everybodyl!
Wednesday, December 23, 2015
Another kid learns to sew
Isaac, who just turned 5, was visiting last week. He seemed to be independently absorbed in Curious George and a jelly sandwich, so I went into the studio to do some sewing. I'm starting to get nervous over two looming deadlines and am seizing upon every opportunity to sew in between the various holiday social events.
I did get some sewing done before he came down to visit, but then he hovered over my shoulder, watching intently as I finished a seam. "When can I do that?" he wondered.
I thought about it for a bit. I have previously told him that he has to be 6 before he can use a sharp knife (that seemed sufficiently far away at the time I said so) and I thought maybe 6 would be a good age to start sewing. But then I thought what the heck and said "you can do that right now."
So we found a box high enough to bring the foot pedal within his reach, and cut a piece of denim from my "old jeans for mending" box. Grabbed a bag of other people's leftovers from the Crow Barn last fall and had him choose some strips. Had him arrange a composition on the denim background, set the sewing speed to the lowest end of the scale, and told him to step on the gas.

He chose some striped strips from my working pile on the table and added them to the composition. Finally we sewed a sleeve on the back and inserted a chopstick as a hanging rod. This was supposed to be his Christmas present to his mother, but he couldn't wait that long to give it to her and made her open it yesterday.

I realize that I am getting way more laid-back as a sewing instructor than I was with my own kids and then with Zoe 10 years ago. Rather than start with choosing an artistically cohesive palette, we just grabbed whatever piece of fabric he laid eyes on. Rather than teach seams, we did raw-edge applique. Rather than sew the resulting composition into a pillow or a little quilt, we just put on a sleeve and declared it finished.
Rather than tell him where to sew, I would ask him, when he stopped, "Where are you going to sew next? What's your plan?" He would decide, and then we would sew that way. Some strips got stitched down more than others, but that's fine. Some strips extended over the edge of the denim base, but that's fine too.
I flash back to my own grandmother teaching me to sew. She wanted me to learn traditional seamstress skills -- no raw-edge applique in Tawas City, thank you very much. If I sewed a crooked seam I ripped it out and did it right. That approach worked fine for me, the classic goody-goody overachieving child, but decades later I don't want to use that approach for my own grandchildren; I want them to figure out their own plans. And in the 10 years between Zoe and Isaac I have loosened up even more.

Subscribe to:
Posts (Atom)