

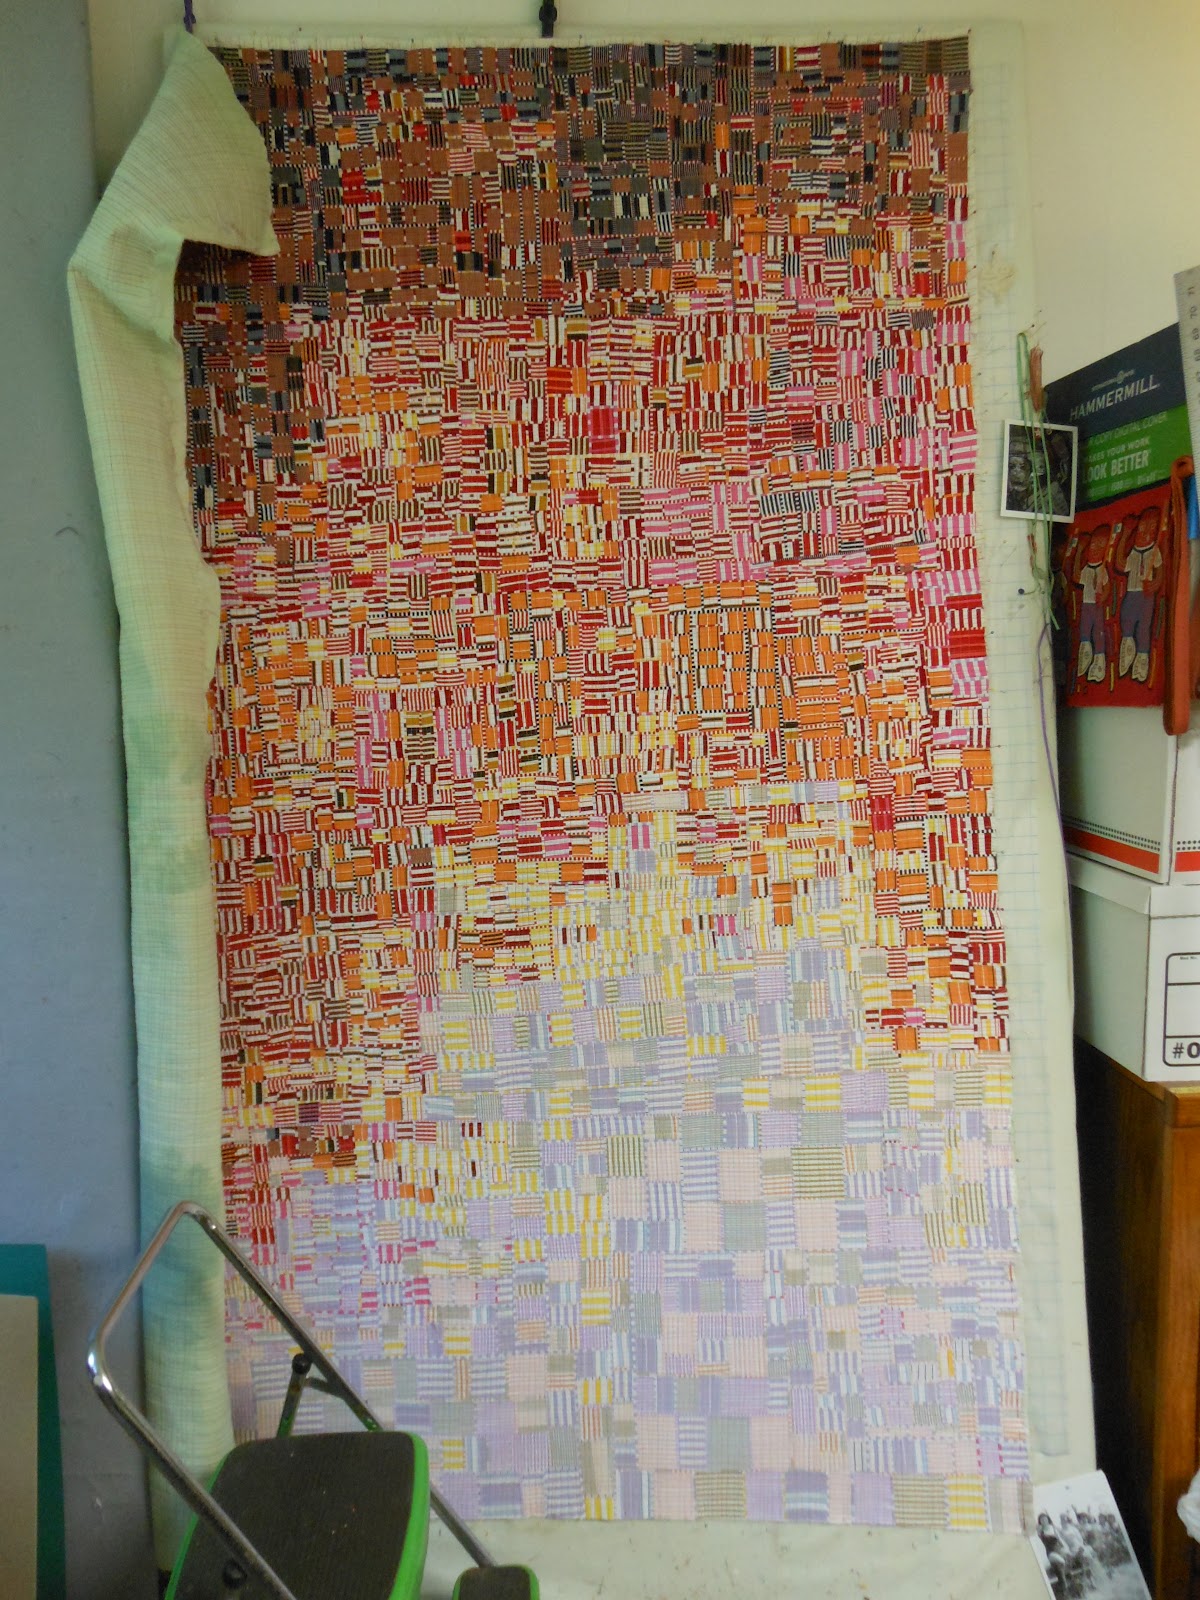
Here it is looking pretty beat up. It has been rolled and folded the long way for the last week, and the vertical creases are pretty prominent. I started by pinning the dark edge, which I had previously trimmed to be straight, to the top of my design wall. Then I pinned the right edge down the side of the board.
After the right side was established, I opened the quilt up to the full width of the board and pinned all four sides.
I put pins every three or four inches, trying to get the quilt as taut as possible. I sprayed the quilt with water, getting the quilt fairly damp. Then I went back and redid all the pins, pulling each edge of the quilt a bit farther away from the center and repinning. The damp fabric stretches a bit more, so that my second pass got all the edges a quarter-inch or so farther out. I adjusted pins as needed to eliminate bulges and ruffles at the edges, and to stretch out any lumps or ripples in the center.
I know that some people like to block their quilts with steam and/or ironing, but I like the low-tech method. It does stretch the quilt more than you might imagine, and if the top was trimmed straight across before quilting, like the dark edge on top in these pictures, it will probably end up needing to be trimmed again. But it will be beautifully flat, ready for finishing.


Hello there! I recently discovered your blog and your amazing artworks. This looks so beautiful - I am utterly fascinated and would love to see it close up.
ReplyDeleteBrilliant!
Kathleen,
ReplyDeleteThis quilt is stunning! I am a stripe lover and just absolutely in awe with what you did with your stripes.
I love your blog. It always is very informative and inspirational, I am constantly learning.
Thanks for sharing your talent.
It looks fabulous, of course, but I'm a little confused. Did you quilt the quilt in two sections and then piece them together?
ReplyDeleteno, it's quilted in one piece. you're seeing the back of the quilt rolled over the front at the left. that part is too wide to fit on the design wall board so it's just hanging there in space waiting for its turn.
ReplyDeleteI'm confused. I thought Quilt National entries could not be shown/published anywhere before they are submitted. I've been fascinated with this quilt during its construction process with all those teeny tiny little striped squares! And now it is huge!
ReplyDeleteMartha -- two points:
ReplyDelete1. this is being published on my website/blog, not elsewhere
2. you will notice that I am not showing you the entire quilt, nor have I at any time in previous posts, just work in progress
Since you don't wash your fabrics before using them, do you ever have any problems with bleeding when you spray the quilt with water? Or with colored thread bleeding? I've had that happen one time.
ReplyDeleteLisa -- fortunately I have never had that problem.
ReplyDeletealthough I don't prewash, I do have many occasions during piecing to spray the fabrics while pressing. I guess if I noticed that a particular fabric wanted to run, I could stop using it.