Showing posts with label surface design. Show all posts

Thursday, August 22, 2019

State Fair prizewinners 2 -- the overachievers


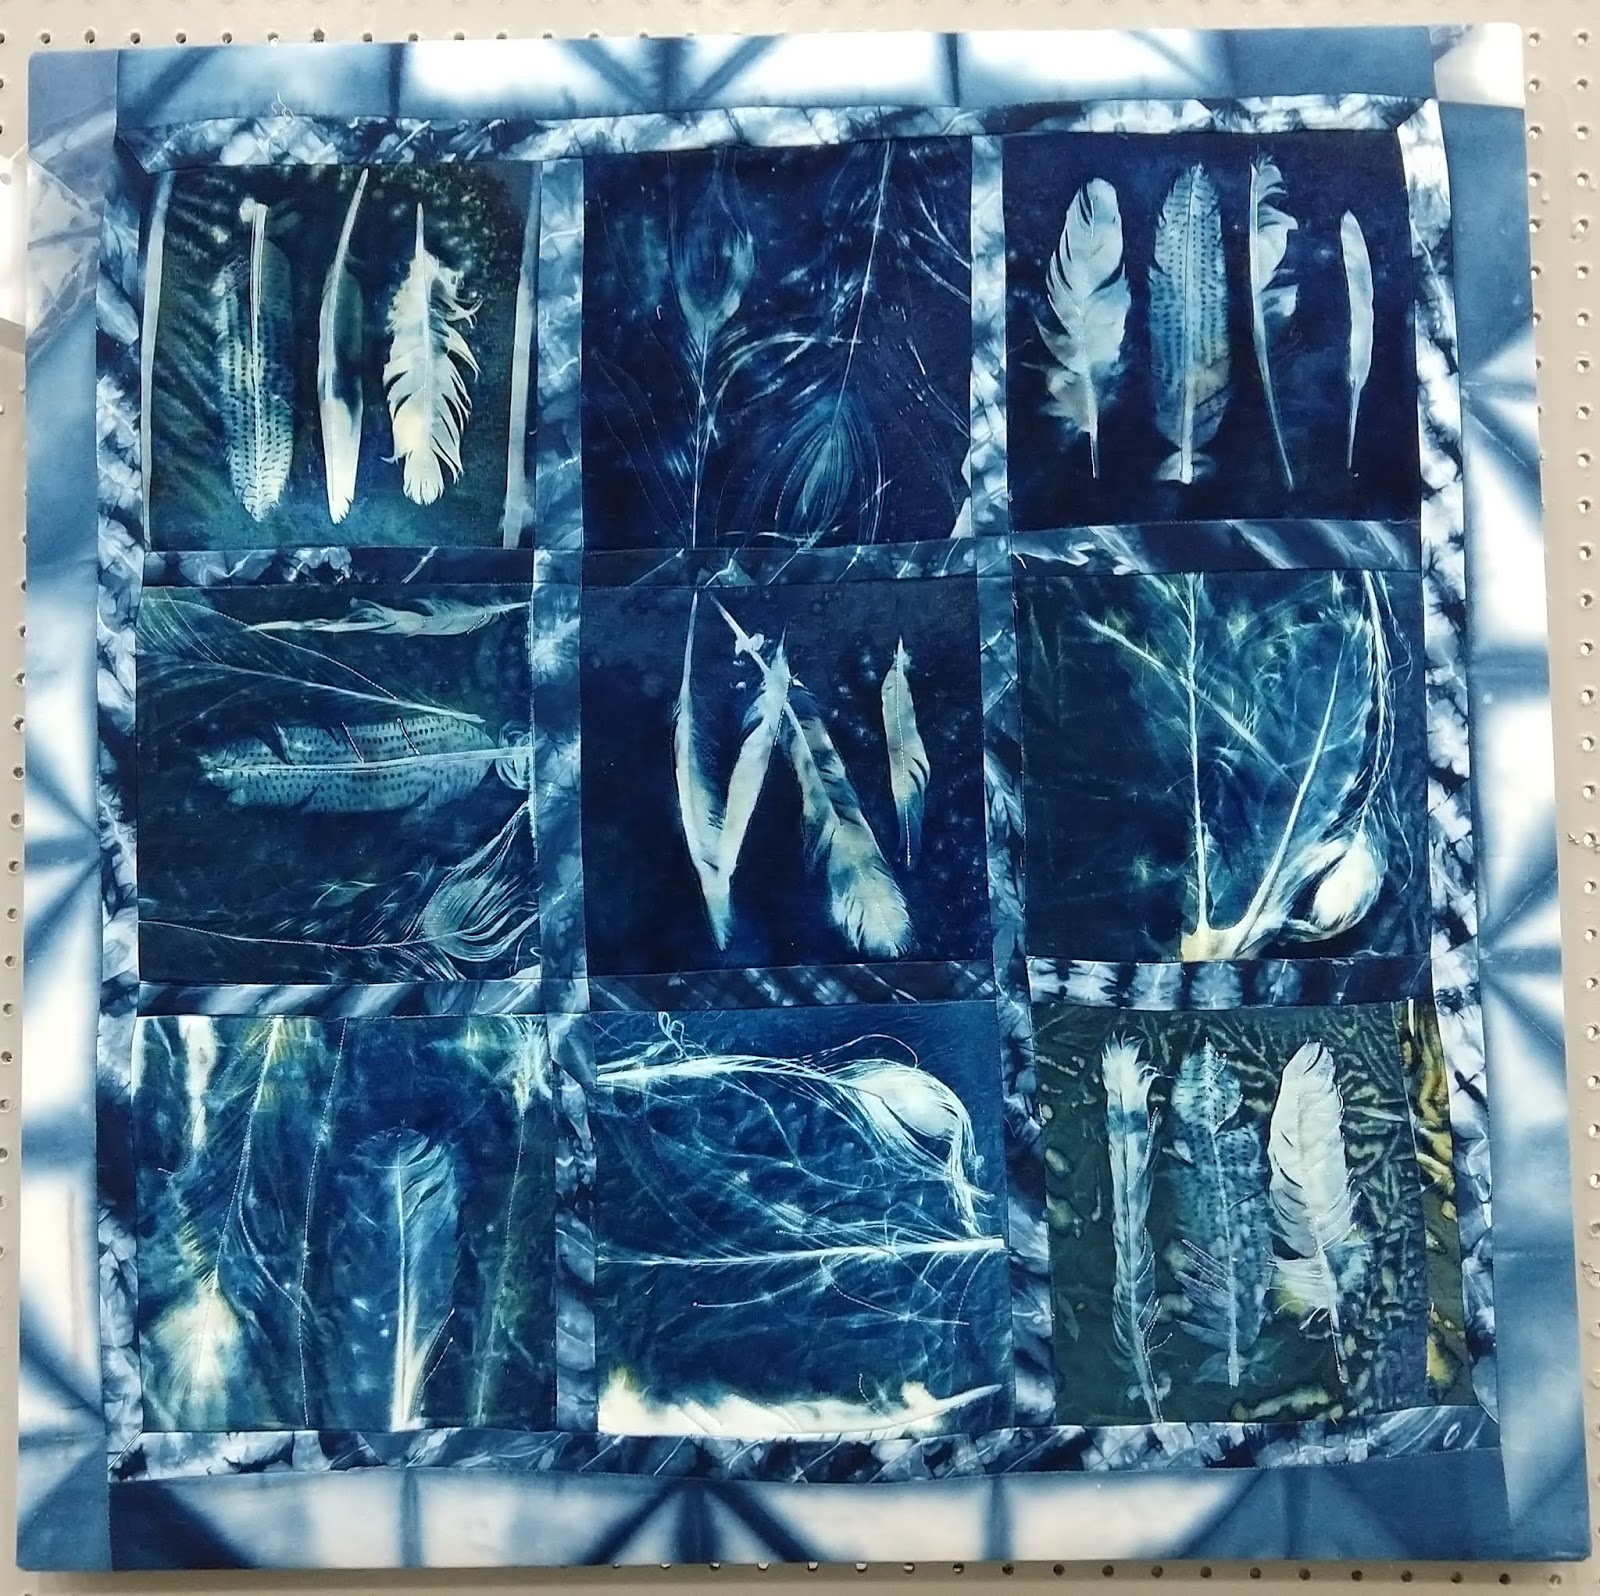
Two of my fiber friends just love to enter the State Fair, and have been regulars in the textile categories for many years.  Trish Korte and Kevin Schultz, who both were teachers, spend much of their vacations making art, often working together.  For instance, this year you can tell that they had cyanotype play days.


Kevin Schultz, first place, surface design (pretty big -- the dress is adult-size)

Trish Korte, third place, surface design


Trish Korte, first place, stitched fabric construction

But they work in other techniques as well.


Kevin Schultz, second place, stitched fabric construction  (an ecoprint of leaves)

Kevin Schultz, second place, three-dimensional (cast paper)


Trish Korte, third place, manipulated fiber construction (felting)

Lots of ribbons between the two of them, and lots of beautiful work.  Well done!

Wednesday, October 10, 2018

Cyanotype on parade


I was in Memphis last week and visited Crosstown Concourse, an exciting new residential/commercial/community development built inside an old Sears distribution center.  And was pleasantly surprised to find fiber art on display in one of the gallery spaces.  John Pearson, an artist who has apparently taken pains to make sure we can find out nothing about him on the internet except that he went to school at Cal Arts and the Art Institute of Chicago, showed a dozen cyanotype prints on fabric.

They're big -- the largest one is more than eleven feet tall and seven feet wide.  Most of them were seamed vertically down the center before being set out in the sunshine with stones or palm fronds laid on top to make a resist against the sunlight. 

The cyanotype process requires the fabric or paper to be soaked in a cyanide-derivative solution, dried, and then exposed to light.  Where the light strikes, it develops as deep blue pigment; everywhere that was masked out is left the original color.  The one piece that Pearson made onto red and white striped fabric was the most striking of the show.


The others were made onto plain white, yielding more subdued compositions.

 (detail below)


I found the pieces beautiful and intriguing, but I thought they suffered from the same existential dilemma that faces many of us who do surface design.  You make a beautiful piece of fabric, but then what?  On the one hand, you don't want to cut it up into little bits for piecing or collage, because you will lose the gorgeous sweep of color and design that makes the big piece beautiful.  But on the other hand, if you just pin it up on the wall, or turn it into a whole-cloth quilt or hanging, is it art yet?  Or does it need something else, and if so, what?

I thought these would benefit from something else, not that I have any brilliant ideas about what that something might be.

One last thing that I loved -- these works are described as "soft photographs."  I've never seen this locution before but it's certainly appropriate!

The show continues through November 25 at Crosstown Arts East Gallery, 1350 Concourse Avenue in Memphis.  If you go, make sure to take some extra time to poke around and appreciate the huge complex of buildings.

Friday, November 7, 2014

Q = A = Q 3 -- handwork and surface design


Q=A=Q gives two awards for specific techniques: one for handwork and the other for surface design.

The handwork award was a no-brainer -- Beth Miller's map of Canberra, the capital of Australia, executed largely in hand-stitched black and grays on white.

Beth Miller, Canberra: The planned city, 39 x 23" (detail below)

The scale was modest, but that meant the stitches were quite petite: running stitch, fly stitch, french knots, cross stitch and probably others that I didn't take the time to identify.  By varying the thread color and the stitch density, she achieved a wide range of tones and patterns appropriate to a map.

Update:  thanks to Brenda Gael Smith, who points me to an old blog post here in which Beth explains how this quilt came to be made.

But there were plenty of contenders for the surface design award, and I probably spent longer on that decision than on all the others put together.  In the running were all the usual techniques: painting, screenprinting, shibori, phototransfer.  In the end I chose Ayn Hanna's piece, which combined deconstructed screenprinting with direct dye drawing.

Ayn Hanna, LineScape #36 (Bridges), 42 x 96" 

I loved the jaunty freedom of the drawing line, with its changing width and occasional blotchy nodes.  I liked the little sections where she drew in red, a change-up from the predominant black.  And I liked the subtle, mostly muted background, its rectangles referencing traditional quilt block construction.

Two others from my surface-design short list were so appealing that I gave them awards too.  Juror's Choice went to Judy Hooworth.

Judy Hooworth, Creek Drawing #9, 34 x 67" (detail below)

I was drawn by the calm palette and equally calm design, nothing more than ripples on the water, although it could also be nebulas in space or an aerial view of the desert.  The two vertical seams cutting the design provided just enough tension and interest to give us three places to look, and to note how the background was slightly different in each.  I loved the wavery lines, drawn wet-on-wet to give an out-of-focus, transitory look to the design.

I've followed Judy's work for many years, having first seen it in person at Quilt National 2003, I think, and have been fascinated as her methods have gotten more austere in both technique and palette.  (The QN piece had lots of raw edges and dimension, and was a wild abstract design of hot reds and yellows.)

Honorable Mention went to Randall Cook.

Randall Cook, Will-o'-the-wisp, 35 x 79" (detail below)

The vivid red, fuchsia and orange dyes on stark white, called from across the room; the exuberance of the design made me think of a cross between Jackson Pollock's paint-flinging and Terrie Hancock Mangat's long series of pieced fireworks.


Wednesday, March 19, 2014

On retreat 4 -- surface design


One of the people in my retreat group was getting ready to teach a class in simple surface design techniques, and was making a few more samples.  Although our house was nicely set up for quilters, it didn't have any facilities for wet work, so Pat just used Dye-Na-Flow (actually a fabric paint, not a dye, thus requiring no rinse-out or washing) in some shallow pans.


The next day we helped her brainstorm about what I call the classic dilemma of surface design: how to use the beautiful fabrics you have made.  You don't want to just make them into a whole-cloth quilt or hanging -- they usually need something more to transform them from yardage into art -- but on the other hand, you don't want to cut them up into small pieces or do anything elaborate on top of them that would obscure your beautiful shibori or other patterning.

Pat had a lot of ideas of how to use fancy fabrics in representational quilts, but hadn't worked much with abstract designs.  On the other hand, I spent a lot of time several years ago experimenting with dye, paint and discharge, and ended up with boxes full of beautiful fabrics that I tried hard to use in abstract quilts.

So I showed her a couple of my favorite semi-traditional blocks that work well with hand-dyed and patterned fabrics.  The pieces are big enough to showcase the beautiful fabrics, but the piecing gives some complexity and added interest.

Both of these blocks are riffs on the traditional Rail Fence block, which coincidentally is the subject of that book I've been trying to finish, so it took very little thinking on my part to whip out a couple of samples for her to take to her class.

Friday, June 1, 2012

Setting it on fire

I've been asked to be the guest artist this month on a blog that you may be aware of -- ...And Then We Set It On Fire.  

This blog has a half-dozen fulltime participants who have agreed to learn and play with a new technique of fiber art every month.  The official definition of their scope is kind of broad: "dedicated to mastery of surface design techniques.  First we dye, overdye, paint, stitch, resist, tie, fold, silk screen, stamp, thermofax, batik, bejewel, stretch, shrink, sprinkle, smooch, fuse, slice, dice, and then we set it on fire using a variety of heat tools." 

Recently the group has taken to inviting a guest artist each month to teach a new technique.  In the last couple of months they've learned monoprinting from Rebekah Meier and improvisational piecing from Rayna Gillman.  I'm honored to be their guest in June.

Here's what I'm telling the group in my initial post this morning:

Although I have tried dyeing, overdyeing, painting, resisting, silkscreening, stamping, fusing, and heat tools at one time or another, none of them have earned a permanent place in my repertoire.  But then I found "slice" and "stitch" in your list, and felt more confident.  Those two techniques pretty much make up my current body of work.  I slice fabric apart, piece in a very thin line of contrast fabric, and stitch it back together again.

But will they work for you?  Maybe better than we think at first glance, and here's why:

During my surface design years I found myself in possession of yards and yards of fabric that looked absolutely wonderful, but I had a hard time figuring out what to do with them.  Didn't want to cut them up into little pieces because I would lose the lovely designs.  But simply quilting them whole-cloth, or suspending them to flutter in the breeze didn't seem to be enough to transform them from yardage into works of art.

In thinking about how I might provide you with inspiration, I realize thar maybe my slice and stitch techniques would be a good solution to that beautiful-cloth problem.  Perhaps by insetting a network of lines you can add a new dimension to something you already have produced.

I've been reading this blog for some time and have been fascinated by the sheer volume of surface-designed fabrics that the participants are making.  I know they all have plenty of stuff in a pile somewhere they can use in piecing experiments, and I'm curious to see what they'll come up with.  You can visit the blog to follow along, and I'll let you know at the end of the month how it turns out.

Here's an example of a quilt that I made using this technique, adding fine lines to two beautiful fabrics -- a screen print by Shelley Brenner Baird and a hand-dye from my own stash.

Fault Lines 5, 2011


Thursday, November 10, 2011

Remedial surface design

My 12-year-old nephew was visiting from Australia recently and had some requests.  His mother had bought him new T-shirts at an outlet mall but none perfectly fit his fashion sensibilities.  Could his aunt the sewist do something to remedy the situation?

Such a challenge generally sets the adrenalin going and I said I would do my best.  What was the problem?

The first one was easy.  The shirt had a breast pocket and he didn't like it.  Among other things, unruly boys at his school have been known to grab pockets and rip them off.  He'd already been advised that unsewing the pocket would look bad (even if we managed to get the stitches out without leaving holes, a printed logo was half on and half off the pocket).  So he would settle for sewing it shut.  But I went for the much simpler approach, fusing it shut.

The second problem required more artistic contemplation.  The two identical shirts were plain, solid colors, and that just wouldn't do.  He wanted some kind of design.

I went through the possibilities.  Paint, tie-dye, discharge, applique.  To that last one, his mom said, "you know, like the little heart on your father's sweater" that was one result of my big mending project at last year's visit.  But if Dad has it, would a kid want it too?  Of course not. 

We tested the fabric and sure enough, both the red and the orange shirts discharged nicely with Finish dishwasher gel.  So we put a nice abstract design on each one.

Here's Robbie with one of his new shirts.

Sunday, October 16, 2011

Black walnuts -- the end

After I noted a week ago that my walnut-dyed fabric was a little pale, several people left comments that I needed more nuts, more time, more heat.  So I gathered up another batch of walnuts, cooked them up, put some fabric into the hot pot to simmer, and then wrapped the cooked nuts in other pieces of fabric.  

This did make the color darker, but I also came to the conclusion that I'm not a big fan of the black walnut color.  I tend to like cool browns and dislike warm ones, and the nuts gave a distinctly warm color. 

I did like the accidental stains that resulted from direct contact with the nuts, much more than the even color of a dyepot.

 
I cooked another batch of nuts for walnut ink, but this time I simmered the liquid down to a sludge, spread it onto a plate and let it dry into crystals.  These are a specialty product sold for calligraphy, so you can mix a batch of ink to exactly the color you want.  Being able to make my own seemed like a good idea, notwithstanding the fact that I just bought a new bottle of commercial walnut ink, and just made a jar of homemade.  Guess I'll have to use walnut ink on my Christmas ornaments this year.  And every year for the rest of my life. 
 
Finally, I managed to lean against the gooey pan in my orange T shirt, a garment that I wasn't terribly fond of to begin with, and decided to wrap some nuts in it to make more stains.  You know, one black stain is an accident, several are a design.  I love the way the shirt looks now, and decided to let it sit  unwashed for a while in hopes of setting the black.  


And that's all I'm ever going to do with black walnuts.  Enough is enough.  The end.

Friday, October 7, 2011

Black walnut delight 4

Here's an update on the black walnut projects.


The walnut ink boiled/evaporated down quite a bit.  From a couple of cups of water, I got about a third-cup of ink.

The fabrics are a mixed bag.

This one was made in a jar with one nut and boiling water, and sat for four days. 

This one was made with boiling water and salt; four days later. 

This one lined the sieve when I strained the walnut ink -- you can see the pattern of the screen mesh.  I rinsed it immediately but didn't wash it out for three days.

Finally, after I made my walnut ink, I wrapped the soggy nuts in this fabric and let it sit in a plastic bag for three days.

I was a little disappointed that the samples were all kind of pale, and decided to put some of them back in a tub with some more nuts.  Also decided to leave the one outside cooking in the sun for a while, as the weather is warm again.  I'll keep you posted.

Monday, October 3, 2011

Black walnut delight 3

My next walnut project is to try to make walnut ink.  I discovered this substance when learning calligraphy and it makes glorious marks.  It's also relatively expensive, so it seemed like a good idea to try to make my own.  I researched it on the internet a couple of years ago, made a batch, and when all the work was over, discovered that it was too thin and made too pale a line.  I stashed it in a safe place and thought that maybe it would continue to evaporate over time, but the place is so safe that I can't find it and check out my hypothesis.

This year I decided to use the same approach but use less water.  I got out my poisonous-chemical pot (although black walnuts are used for food so can't be too poisonous) and filled it with one layer of nuts, then added water to cover the nuts about halfway.  Brought it to a boil, then turned it down to simmer and let it cook uncovered for three or four hours, turned it off and went out to dinner.

By the time we got home about half the water had boiled or evaporated off and the liquid was looking kind of dark and syrupy.  Yesterday morning I tested the liquid by writing with a pen and found it was still too pale.

For some of the day it simmered over low heat. When we got ready to leave the house, I would turn up the heat for a couple of minutes, then turn if off while we left. I suppose that it cooked for five or six hours.

By then, the ink was thick and syrupy and when I tested it in a pen, it was even darker than the commercially bottled ink I had just bought at the art supply store, so I decided it was done.


I pulled the walnuts out of the pot, wrapped them in some white fabric and stashed them in a plastic bag. I strained the ink through another piece of fabric to get rid of any bits of nut or husk.

My plan is to let everything sit for the rest of the week while I go to meetings and do other exciting things.  I'll let you know what transpires.


Sunday, October 2, 2011

Black walnut delight 2

The first step in my black walnut science project was to start three pieces of fabric.


For the first one, I wrapped some walnuts in a damp piece of white PFD cotton, put them in a dark plastic bag and set them outside in the sun.  Our weather is getting cooler (thank heavens!) and I reserve the right to bring them inside if that seems a better plan.


For the second, I put some walnuts in a jar with a piece of fabric and poured boiling water over the top.  Almost immediately it started getting brown.

For the third, I added salt to the boiling water.  The jars are stashed in my laundry room and we'll see how long it takes to achieve some permanent color. 

Saturday, October 1, 2011

Black walnut delight 1

The end of September means black walnut time in our part of the country; some of the chartreuse nuts are still on the trees, but others are lying on the ground ready to be gathered up.  Some are intact, others have split and turned black.  It's time to collect them and make dye or ink!

Curiously, when I owned a black walnut tree I didn't realize its surface design potential.  I would give away the nuts to a friend at the office who would painstakingly spread them on the driveway, run them over with a car to split the tough husks, and pick out the nutmeats for use in baking. 

When we had to take the tree down a few years ago, I noticed that the stump oozed black sap for weeks.  I would cut a yard or so of PFD fabric, spread it over the stump and nail it down so it wouldn't blow away.  A week or two later, there was a gorgeous piece of dyed fabric -- for black walnuts are noted for their aggressive dye properties.

When I took up calligraphy two years ago I learned about walnut ink, one of the most beautiful coloring substances I've ever met.  So when fall rolled around, I decided to try making my own.  I followed directions found on the internet and cooked up a batch of ink, but it turned out to be considerably weaker than the commercial variety, so I kept it in its jar for a while in  hopes that the water would evaporate and concentrate the solution.

And promptly forgot about it.  Until this week, when I realized that it's that time of year again.  When we encountered lots of walnuts on the ground in the park yesterday, I decided to gather a load and see what I could do with them.  I'll share my processes and the results of my experiments, in case you have access to some nuts and want to follow along.

My first observation is that the nuts smell nice, even though they look nasty -- a faint odor that seems exactly like cardamom, one of my favorite spices.  Stay tuned for observations more closely related to surface design.

Wednesday, September 21, 2011

A new direction

While I was in South Carolina last week I had the opportunity to see a show of work by Terry Jarrard-Dimond and her husband Tom Dimond, at the University of South Carolina Upstate in Spartanburg.  I have been familiar with Terry's work for some time and knew that she made a big change in direction about a year ago, so I was looking forward to seeing this new body of work.

And I was not disappointed.  Her new quilts make a cohesive and impressive show, all based on dots and stripes and executed in dye-painting.  While her earlier works were hard-edged and tightly composed, these are looser, more ambivalent and totally gorgeous. 

Terry Jarrard-Dimond, What Isn't Seen

Terry Jarrard-Dimond, Shelter (detail below)

Raw-edge pieces were occasionally sewed on top of larger expanses of fabric to interrupt or echo the underlying patterns.

Terry Jarrard-Dimond, Hold That Thought (detail below)

Some of the pieces were accented with hand-stitching.

Terry said in a gallery talk that after she spent a year making several huge pieces for the Color Improvisations show, curated by Nancy Crow and currently touring in Europe, she was ready for something different.  Readers of her blog have followed her weekly experiments in surface design throughout 2010, which led to the works in this show. 

I'm sorry to say that the show will close on Friday, but keep your eye out for Terry's new work to appear in other venues.

I'll write tomorrow about Tom Dimond's work in the same show.

Monday, August 29, 2011

Playing with paper

I attended a great workshop yesterday in which we made all kinds of surfaces on paper with acrylic paint.  We had brushes and rollers to apply the paint and lots of different stencils and resists to make patterns with.  Suzi Zimmerer, a gifted paper artist, was our leader and brought out the best in all of us. 

Among the techniques we learned were crumpling the paper (then you roll paint over the top and it sticks only to the raised "ridgelines" of the paper) and spritzing a fresh coat of paint with water, then blotting it off so you lose color everywhere there was a droplet.  We made stamps out of foam board (think takeout containers or meat trays), either by cutting them or embossing into the surface.

We each came home with a dozen or more sheets of personalized paper.  The problem, always, is what to do with the gorgeous things you make at a workshop...
