Showing posts with label workshops. Show all posts

Wednesday, June 2, 2021

No-pressure quilting

Since I started posting daily to Instagram at the start of the year, I have been looking at a lot of posts by other quilters, because the Instagram algorithm is so great at identifying what you're interested in.  And while I have seen a whole lot of wonderful work, I've also seen a lot of photos that make me cringe. 

If you would like to cringe for yourself, go to instagram and search on #improvquilt or #improvquilting.  (The links also work if you're on a computer, not your phone.)

Specifically, photos where people have apparently lost the use of their irons.  It's obvious that if there was any pressing at all during construction of the blocks, it was slapdash.  I can imagine what these quilts are going to look like after quilting and finishing, and the picture isn't pretty.

All photos from other people's
Instagram posts


When I teach quilting I give my signature spiel in which I say I don't care about almost all of the quilt police rules.  Don't care if your seam allowances are 1/4 inch.  Don't care if your points match at the seamlines.  Don't care if your blocks are exactly square, or if your seamlines are exactly straight, or your quilting stitches are all the same length.  But there is one thing that I REALLY care about, enough to make up for all those that I don't bother with.  I care that you press obsessively and thoroughly, that you press every seam open before you cross it with another seam. that you press every block perfectly before you trim it to size and join it to others.


It's particularly important with curved seams; even if the two pieces don't match exactly you can usually coax them into perfect alignment with a spritz of water and a hot iron to urge the bias threads into obedience.  

What disturbs me even more about these unpressed blocks and entire tops that people are so proud of that they post them to instagram is that many of them have made their pieces in workshops with (presumably) qualified teachers.  

I don't know how online quilt instruction works, but I would hope that teachers are asking their students to send photos, and that they are pointing out pluses and minuses of the work.  And how could teachers possibly overlook the glaring lack of pressing?????


I would hate to think that the teachers don't notice, or that they notice but don't care.  In my opinion any teacher who approves of work like these examples should lose her teaching license.  Oh wait, you don't need a license to be a quilt teacher, anybody who stays one block ahead of the rest of the class can promote herself as a guru and apparently attract lots of people willing to pay to "learn" from her.


I just read an instagram post, complete with photo of unpressed blocks, in which the author adorably tells us "Okay here's all the secrets to making an improv quilt."

Secret #5 reads: "Iron the seams once in a while but only when your butt starts falling asleep and you have to stand up."  

I know this is meant to be charming and humorous, not really serious, but it helps spread the idea that pressing is optional, that improvisational quilting = sloppy quilting.  And that makes me crabby.  Way more than crabby, if you must know.


Want to learn how to press your quilts in progress?  Check out my tutorial here, and then read on for curved seams.  Take my word for it, if you learn to press properly, and more important, if you make yourself do it all the time, your quilts will look vastly better and it will be vastly easier to work with them.  

Now to figure out how to get the word out to all those people on instagram!


Monday, January 4, 2021

Want to learn magic cross stitch?

I like to teach a process that I call "magic cross stitch," not so much a stitch as a way of approaching a hand-stitching project to incorporate spontaneity, serendipity and surprise.  It's listed on my "workshops" page, and this fall I got an inquiry from a quilt guild as to whether I could do it as a virtual workshop during pandemic lockdown.  I declined, since the process requires a lot of individual hands-on help, and people would probably be disappointed at trying to learn it online.


BUT -- in further discussion with the person who made the inquiry, I decided to write a detailed tutorial on how to do magic cross stitch, then offer individual consultation by email or phone if she had questions or wanted feedback.  And it seems to be working -- she has already made a good start on her project and the last time we emailed, she says she's ready to really get on it in the new year.  

One of the things I am most proud of in this tutorial is that it comes in two versions -- right-hand and left-hand.  The direction of stitching is vitally important in getting good results, and in avoiding wrist agony.  Thus in workshops I spend a lot of time giving directions twice.

But now lefties can read their own instructions and see illustrations of actual left-handed stitching, instead of being the by-the-way afterthought to the "standard" instructions.  

for lefties                                            for righties


The tutorial shows you how to make the "magic" stitch -- by working from the back of the fabric.  This gives you cross stitches, just like the ones you may have learned from your grandmother, but with a whole different mindset. I explain it in the text:  

How can you use this wonderful basic stitch to do original compositions without the stiffness of perfectly arranged rows and columns of Xs?  My method allows you to make stitching that looks lush and painterly, dramatic, textures, spontaneous and improvisational.  It involves no graph paper, no sketching in advance, no counting, no worries about the exact size or shape or placement of your stitches.

If you can thread a needle you can do magic cross stitch.  In fact, if you're a beginner at hand stitching, or if you've long since forgotten the fine points of what your grandmother taught you, you may even be better at this technique than people who have done a lot of cross stitch using more structured designs. 

I like to add french knots toward the end of a magic cross stitch project, so there's lots of instruction on how to master that stitch, too.

But the tutorial doesn't stop when you have learned how to make the stitches -- it helps you plan your color palette, your composition, your placement of colors and accents.  And it guides you through the different methods of finishing your work so it can be displayed on the wall or used functionally.

If you're thinking that you need a nice handwork project to get you through the last grim months of pandemic isolation, this might just be your thing!  Send me an email at < artwithaneedle@gmail.com > and I'll get you a PDF of the tutorial.  Pay $25 for the tutorial, and $50 an hour for subsequent consultation and mentoring if you want it.


Monday, January 27, 2020

Documenting the process -- part 1, pictures


Last week I wrote about Claire Henderson, who just finished a quilt she started in my workshop at Quilting By The Lake in 2017 and sent me a picture.  I looked back in my files and found some pictures I had taken of her quilt on the design wall, and it was interesting to see how the composition changed during the workshop and then at home.

Vickie left a comment: "I do love seeing the process.  I keep resolving to take and organize photos of my process, and add comments and reflections.  But, then, I think I'm too busy to stop and do that.  I've got to find a designated time for this.  Do you have any suggestions?"

Well, yes, I suggest you figure out a way to do it!  I firmly believe that understanding your own process, both the methods and techniques you use to make art and the way you come up with your ideas, is one of the major skillsets of the serious artist.  Maybe there are artiste savants out there who simply channel the universe into art without thinking about it along the way, but most of the artists I admire and respect don't do it that way.  They are able to articulate and recall what they have done in the past, so it's easier to plan ahead, solve problems and incorporate new ideas into their practice.

Vickie is right that there are two kinds of documentation: photos of the work as it progresses, and comments about how, why and how well you did what you did.  Of the many ways you can accomplish this, there's just one thing that absolutely has to be done RIGHT NOW as you work, and that's to take pictures.  So my first suggestion is to get into the habit of taking a lot of photos of what's happening on the design wall.

Making new habits is most effective one step at a time, and step one is really easy -- keep a camera at hand as you work.  Fortunately many people are already in the habit of carrying a phone on their person even when moving around their own house; if you aren't, then make a point of taking the phone or camera with you into the studio.  At the very least, take a picture of your design wall as you leave for the day.  And if you're working on anything complicated, take more -- you can't anticipate when your composition might fall prey to a gust of wind, a helpful toddler or playful cat, or when you lose your place between the design wall and the sewing machine.

(In the age of digital photos, there's no such thing as taking too many pictures.  When I snap the design wall as I close up for the night, I take two or three shots.  Why skimp?  You can always cull out the duplicates, or the ones out of focus or too dark.)

You can't go back and take a picture of what you had on the design wall last week, but you can always organize the photos later.  I was embarrassed, when Claire emailed me last week, to find that I had no folder for the QBL workshop.  So I went back and searched through everything I had taken in July 2017, pulled out the ones from the workshop and filed them where they should have been all along.  Two and a half years late, but now all is in order.  You should aim for a higher standard; maybe once a month?  once a year???


Tomorrow I'll talk about the second part of the process, keeping track of your thoughts.  Too bad there's no way to just shoot photos of what's going on in your head, and organize them later!

Wednesday, January 22, 2020

Finished at last


How many times have you attended a workshop, made a good start on a quilt or other project, went home intending to wind it up posthaste -- and then time passed....

It's happened to me a lot, and sometimes it has taken a decade or more to get around to finishing the piece.  (Often what I do with it bears little resemblance to what I thought I would do with it when I left the workshop.)

But today I want to share a project from Claire Henderson, who took my workshop in improvisational piecing at Quilting by the Lake in 2017.  Yesterday she wrote me: "I finally quilted and faced my big project from the class.  I still like it and it was the first piece I pulled out for my New Years resolution to finish more things I start!  Thanks again for a fun and most important to me, serious and useful class."

Yesterday, when she sent me a picture of the quilt that she just finished, I looked back in my files and found that I had photographed the quilt in process.  Here's how she started out, making strip sets from her chosen palette:


The next day she was cutting modules from the strip sets and putting them up on the design wall:


By the end of the workshop, she had the quilt pretty much composed on the wall:


And here it is all sewed, quilted and faced:


I find it interesting how the big white square with the little green/blue/green patch in the middle was sketched out so early in the process, and how, with a little tweaking, it survived into the final quilt.  Also that the white and blue are the only ones of the five colors to survive into large expanses in the final version, while the red and green ended up sliced and diced into much smaller pieces -- and the coral is only an occasional accent bit.

I've always been a big fan of taking lots of photos as your quilt takes shape on the design wall.  Not only does it help you reconstruct if a big wind or a toddler takes everything down, or if you get confused between the wall and the sewing machine, but it gives a view into your thought process.

Thanks, Claire, for sharing!


Thursday, February 28, 2019

Great idea for workshops


As "education chair" of my local fiber and textile art group, I get to organize workshops and as a side benefit, show up to give out nametags, collect money and say hello.  Sometimes I hang around for a while to see what's going on.  Earlier this week I dropped in at a book-making workshop led by Debbie Shannon.

She wasn't sure exactly what people wanted to get from the workshop.  With a room full of intermediate-to-advanced artists, she knew that having everybody do the same project wasn't going to go over well; some people would want to finish one book, while others would want to make samples of two or three different kinds to have as references for future work.  Some might want to know where you buy this or that or how you work with a particular kind of paper; others might think it a waste of time to talk about that.

So Debbie did an approach that I'd never seen before -- but plan to steal and use in the future.

She gave each person a half dozen tiny post-it notes and told them to put their names or initials on each one.  Then she had a sheet on the wall with a half dozen possible subjects for discussion.  Each person was asked to put a post-it note above any subject she wanted to cover in the workshop.


The finished grid showed what the group wanted to do, and what they didn't particularly care about.  this way Debbie could make sure to cover the important subjects -- learning to make three different book structures -- and leave those less interesting to the end, or not at all.  So much more efficient than asking for show of hands, or proceeding with a set lesson plan only to learn that many of the people in the class were bored or frustrated.


Saturday, February 23, 2019

Last week on Art With a Needle


After my post about a workshop I led for SAQA/Indiana, a commenter wrote:  "This experience of yours reminds me of the value of taking a hands-on class over an on-line one....  I found these kinds of group evaluations always turned up unexpected ideas.  A pooling of knowledge energizes the whole experience.  Something similar CAN happen with on-line classes, but something is lost by not being in the same room with each other."

I have to agree that being in the same room with other people is usually the best part of attending a workshop.  Even when the teacher is fabulous, it's better to be there when others are learning and doing alongside you.  If the teacher is less than fabulous, it's really better to have comrades in learning; often you can come up with a group DIY response that compensates for whatever holes the teacher has left unfilled.

From the teacher's standpoint, it's also helpful to have several people in the room.  If one doesn't understand your point, another often asks the right question; if one is being obdurate or crabby or goes off on a tangent, the others can often exert peer pressure to bring her back in line.

I have had good experiences with on-line classes -- the Photoshop classes from The Pixeladies were wonderful and I recommend them to any quilter who wants to up her tech skills -- but I have also had lukewarm ones.  The better ones, as I recall, were those in which there was group conversation as well as individual back-and-forth with the teacher.  Which is exactly the point!!

I had my second cataract removed on Wednesday and am thrilled with my wonderful new distance vision.  For the first time since I was six years old, I can see out the window without lenses, and the trees are in focus!  The tradeoff, of course, is that my wonderful new distance eyes are useless up close.  I'm experimenting with my husband's drugstore reading glasses and they let me read, but I get vertigo if I try to look or walk across the room with them on.  Another trip to the drugstore seems in order to find a better prescription.  But this should last only a month until the eyes are both fully healed and I get new glasses.

Meanwhile I'm doing my daily calligraphy and my daily miniatures even though I can't really see what I'm doing.  It will be interesting to look at these pieces later and see how bad they are!  Here's my favorite miniature of the week, front and back:


Tuesday, February 19, 2019

Hand-stitching -- the workshop 2


I wrote last week about the workshop I led on hand stitching onto a finished quilt.  After practicing stitching onto sample sandwiches in the morning, people pulled out their own quilts and decided what to do.

Whenever you teach a workshop the first time, you are surprised at how it turns out.  I had anticipated that people would be productively stitching away within minutes.  But instead, we spent the entire afternoon on evaluation and auditions.

We put the quilts up on a design wall and talked about what they needed next.  Usually the maker already had an idea of what she wanted to do next, but sometimes after we kicked the tires, it turned out she needed to do something else.  Some people knew there was a problem with the quilt but weren't sure what it was, so we talked about design, composition, color palette.

Eventually each quilt got to the color-choice stage, where we draped floss in various colors over the quilts, stood back twenty feet, and contemplated which ones worked (and which ones were even visible!).


We did the first couple of evaluations with everybody listening, and from then on people could bring their work for "private" consults -- but many of the participants decided they would rather listen in on a lot of consults than do much stitching on their own.  That was good, because many times the comments from the onlookers were more helpful than the comments from the teacher.

So the workshop changed course in midstream.  Instead of a lot of practice in hand stitching, it turned into a lot of practice in evaluation and auditioning.  In the long run, practicing those skills is probably going to be way more valuable than practicing how to make french knots on a thick, densely stitched quilt (hint: use pliers to pull the needle through).

Thursday, February 14, 2019

Hand-stitching -- the workshop 1


I just got home from a gig with the SAQA Indiana region.  The organizers thought it would be more convenient if participants didn't have to shlep sewing machines across the state, so the workshop focused on hand-stitching onto finished quilts.  I am not a world-renowned expert on this subject, having used the technique on only a few quilts, but I was excited about getting to lead this session, figured that I would learn as much as anybody else in the room.

My interest in hand stitching as the last step came with this small quilt that I made a couple of years ago for a group show with the prompt "green."  After I finished it and posted the image to our group blog, it sat on my design wall for a while before it actually had to be shipped.


The longer I looked at it, the less I liked it, and finally decided it needed some extra pizzazz.  So I got out my embroidery floss and stitched more little rectangles to echo the pieced ones.  Here's the final version, so much better than the original:

Kathleen Loomis, Sargasso 2 (detail below)

So, echoing my own experience, I asked the SAQA ladies to bring an already-quilted small quilt that seemed to need something extra.

I'll tell  you more about what happened in a new post.


Friday, November 16, 2018

Workshop report 3


One of my students has already finished the piece begun in the Loose Threads workshop last month.  Linda Bohlen sent this photo of her little quilt, "Snow on the Mountain." 


She thought the diagonal lines looked like a mountain range, and added some hand stitching to make a dusting of snow on the peak.

It's always nice when you like a workshop piece enough to take it home and finish it!  And even nicer when it comes out looking great.


Thursday, November 15, 2018

Workshop report 2


Here's another workshop piece from Loose Threads that started as large-to-small -- one piece of fabric, sliced and restitched with a very skinny line of fabric between the two halves -- and then turned into small-to-large on the second day.  The very densely pieced small-to-large areas, because they can incorporate different colors in different combinations, add a lot of pizzazz!

after the first day


making a bunch of small-to-large strips and modules


adding them to the large-to-small composition

And she's not done yet!!  I'm waiting to see how this all turns out.


Tuesday, November 13, 2018

Workshop report 1


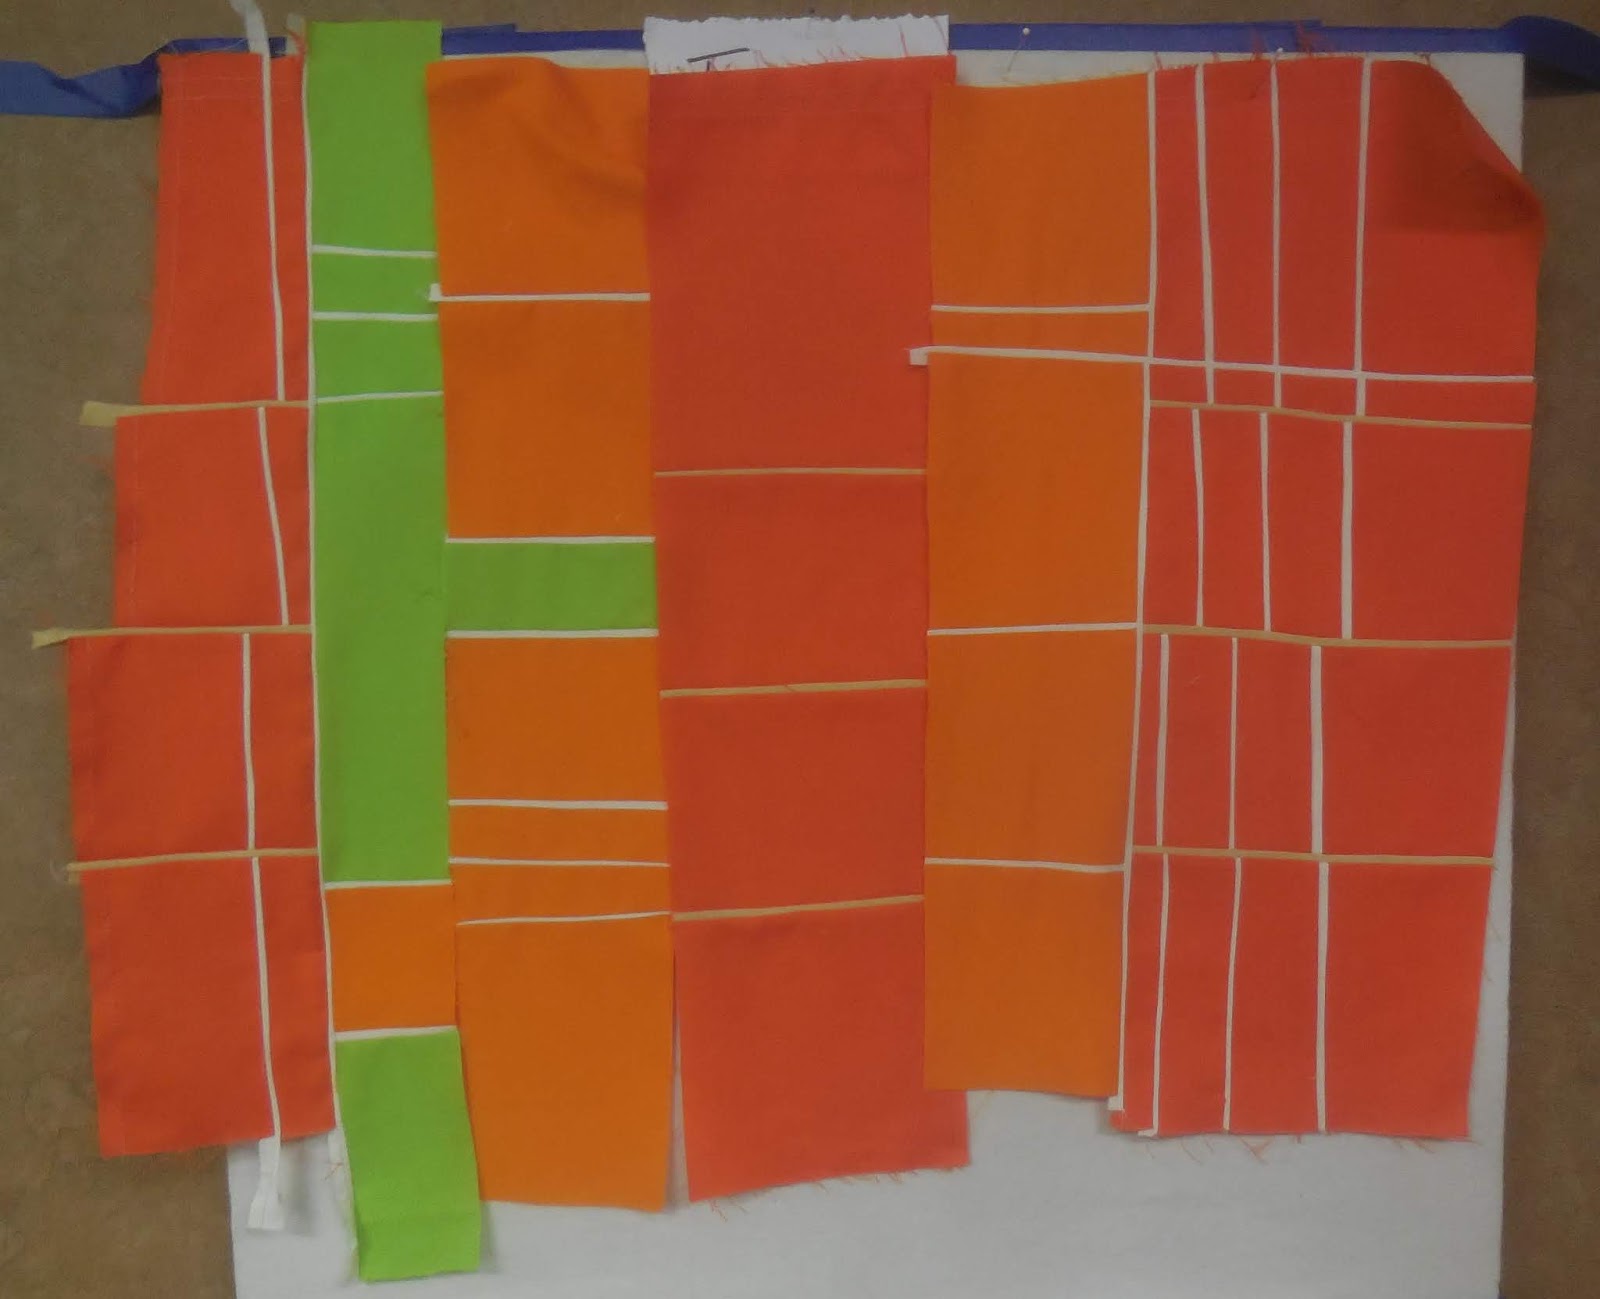
A couple of weeks ago I wrote about leading a workshop for Loose Threads, a small group of fiber artists in Evansville IN.  When I teach fine-line piecing I like to spent the first day slicing up large pieces of fabric and piecing them back together with very skinny "mortar" lines.  The longer you work on something, the more lines will appear and the more complex the composition.  You can also turn the pieces upside down or add a second color before you sew it back together.

midafternoon

after working late into the evening


midafternoon


late 

The second day we worked with a different method of construction: starting with small modules or strips and building them up into larger expanses.  Some people stuck with their first-day compositions and made them even more complex with new modules.


second day afternoon

The moral of this story, I guess, is that when the schedule says it's time to stop and move on to another task, sometimes it isn't.

Tuesday, October 16, 2018

Piecing fine lines -- a nifty technique


I had the pleasure of leading a workshop over the weekend for Loose Threads, a small group of fiber artists from the Evansville IN area.  We worked in several varieties of fine line piecing, and it was great to have an enthusiastic bunch of sewists who were happy to keep cutting and piecing when others might have been ready to call it a night and go to bed.

Every time I teach a workshop I learn something -- maybe a new technique that a student shows me, maybe a new way to explain or organize my own presentation.  What I learned this time around was to make good use of what we came to call "test strips."

When people make slash-and-restitch compositions, it's essential to contemplate what's going to happen before you actually make the slash, because there's no going back if you change your mind.   I confess that when I was doing a lot of these quilts, I would usually just lay down a long ruler over the quilt, stretched flat on my worktable, and if I could find a straight course across the quilt without running into obstacles such as a preexisting seam intersection, I would go ahead and cut.

Do as I say, not as I do.  I recommend that my students put their work up on the design wall, as their designs get more complicated, and audition different pieced lines before they cut.  Here's an example of how most of them would proceed: use a strip that you've already cut for a fine line, and slap it up on the design wall.


The problem with this approach, of course, is that the strips auditioning on the wall are three or four times as wide as the finished pieced-in line is going to be.  So they don't give an accurate idea of how the quilt will look.

A better idea, we realized, is to cut "test strips" that are the width of the finished line -- about one-eighth of an inch, rather than one-half inch as in the quilt above.

With accurate test strips, you can try different cuts, stand back and get a much better picture of what you have in mind.  Here are three possibilities we auditioned for one student.  In a very close view, you might see the pins or fingers holding up the test strips, but otherwise it would be hard to differentiate the real lines, already pieced, from the hypothetical ones.


We had such good results with the test strips that I'm going to incorporate that method into every fine-line-piecing workshop I ever teach again.  If you work with fine lines, I highly recommend this approach!


The best thing about it: you have to invest less than one inch of fabric into enough test lines to audition many, many cuts.


Friday, August 4, 2017

QBL leftovers


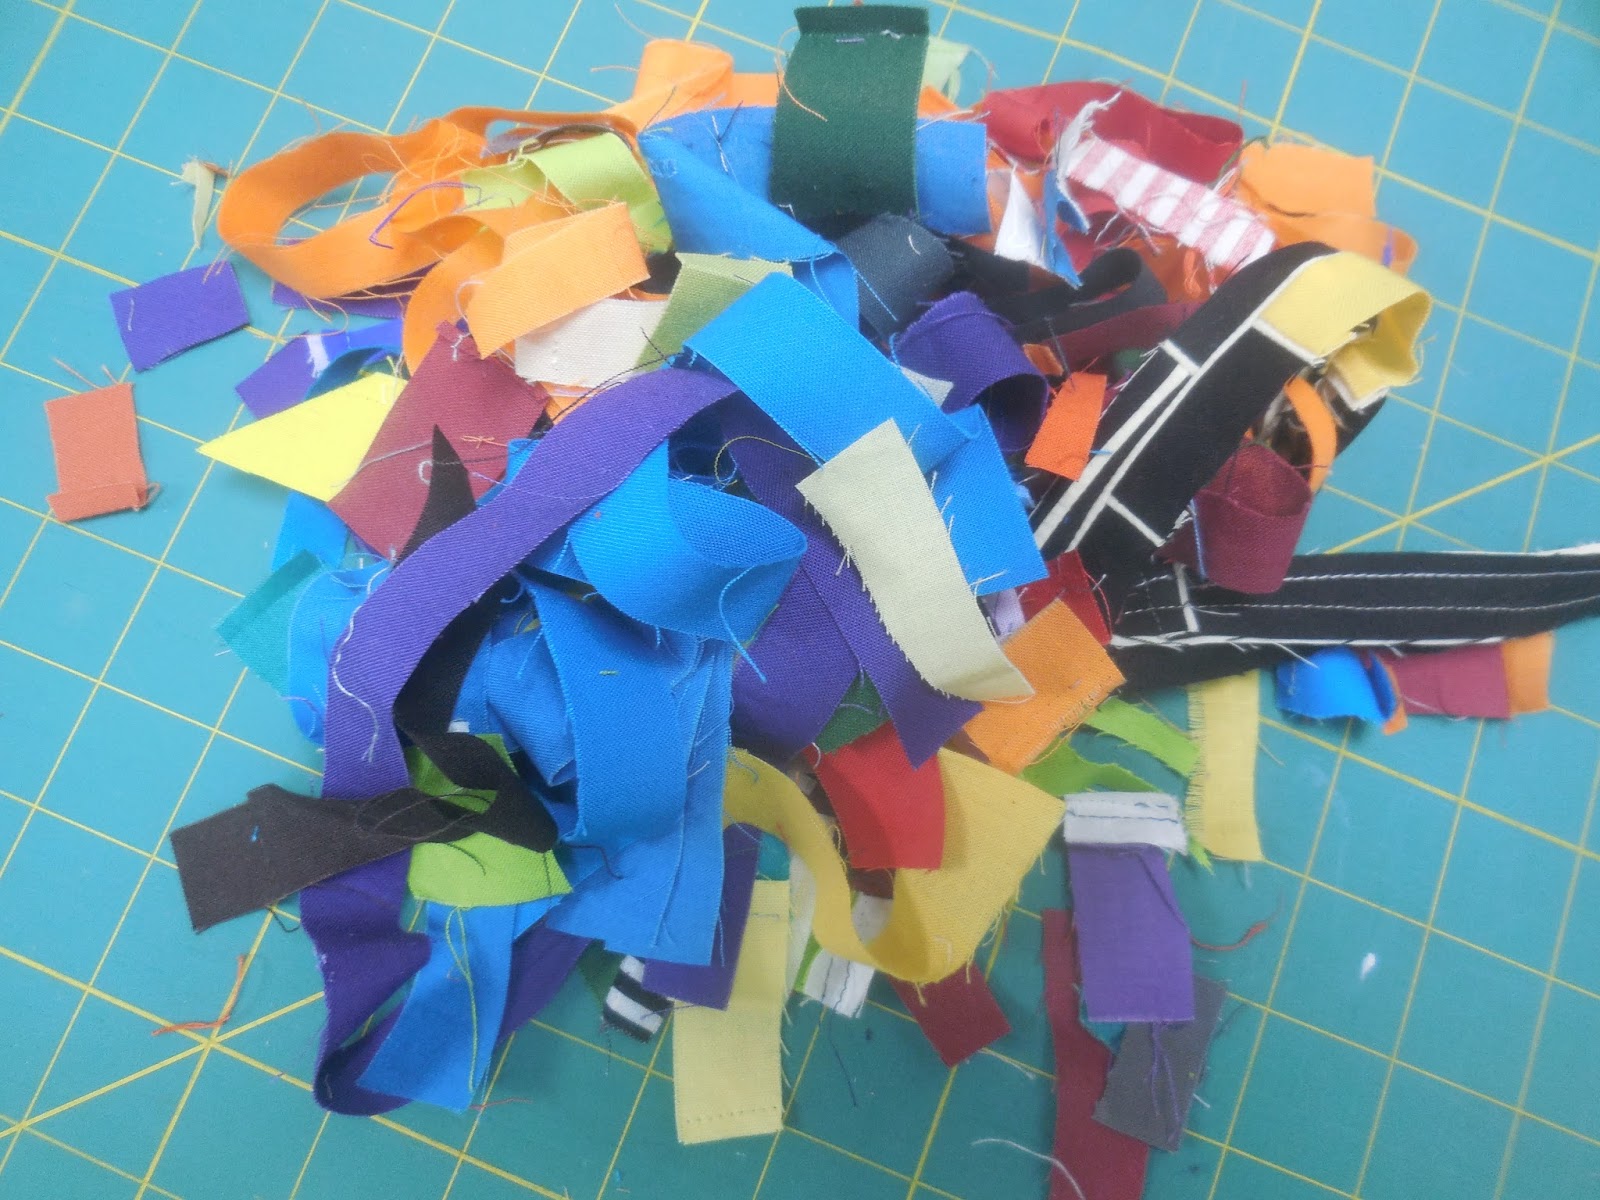
The last time I taught a multi-day workshop I had the idea to ask my students to each give me a couple of leftover bits from their projects, and I sewed them together into a little souvenir quilt.  I enjoyed that exercise so much that I wanted to do it again at Quilting By the Lake.  But this time instead of asking for contributions, I decided to simply go around and raid the scrap bags at each table.

The last three days of the workshop were fine line piecing, but the scrap bags didn't acquire many bits with fine lines; I think many people packed up everything on their worktables to take home and finish their projects.  So most of the scraps I rescued were simply strips and pieces of solids.

I got a lot of piecing done during the workshop, and by the time I came home I had perhaps two-thirds of this quilt sewed, or in large modules ready to put together.  But scraps breed in the dark, you know, and whenever I thought I was about finished I would realize that there was still quite a bit of fabric there.


You can see how I added several long strips on various edges, expanding from the original center of about eight rectangular modules.

And you can also see how the quilt gained a final border when I found Jayne's scrap bag, which I had stowed in a separate place in my car and didn't come inside until yesterday.  Jayne had pitched a substantial chunk of maroon fabric with fine orange lines, which I cut up to make the dark borders.  There wasn't quite enough to go all the way around, so the top border is quite a bit more random than the other three, not to mention a half-inch narrower.

When I got the quilt this far I had to admit this was the end.  All I had left was a pile of truly miscellaneous scraps, mostly too narrow to accomplish much with.

I sorted through and found a small pile of pieces large enough to do something with, bagged them up neatly and put away.

And then -- yes, I did -- I threw the rest away!!  The old Kathy would have dumped them into a grocery bag and stashed it underneath the worktable, just as I kept three bags of scraps salvaged from other people's throwaways for two and a half years after my last trip to the Crow Barn.  The new Kathy pitched this whole pile (not without a few second thoughts....)

Monday, July 31, 2017

More from QBL


After two days of Improvisational Strip Piecing, my workshoppers at Quilting By the Lake moved on to three days of Fine Line Piecing.  Although I've taught this technique in many different formats, ranging from one day to five, I'm always happiest with three or more days so people have the chance to explore both "large-to-small" and "small-to-large" approaches. And I was really proud of the work people did last week!

As usual, the last day of a longer workshop often is marked by people sewing as fast as they can, wishing they could finish up before it's time to pack up and go home.  Some people did finish attractive compositions, as shown below:


Others stopped in midstream and I'm hoping they'll (a) finish up their pieces when they get home and (b) send me pictures!