Showing posts with label sewing machines. Show all posts

Friday, January 12, 2018

Tension headaches


Our fiber art group just scored two huge garbage bags full of old doilies and tablecloths in a variety of techniques -- crochet, tatting, hairpin lace, cutwork, bobbin lace, embroidery and who knows what else.  As we sorted through, contemplating what we'll do with them, I noted how some were obviously made at less-than-expert level craft.

And I thought, as I have so often in the past, that in every single fiber art, the key to mastery is control of tension.

Check out this cute little crocheted doily, made in granny squares.  The white is tighter than the pink, hence the 3-D effect.

When I first learned to crochet, taught by my mother-in-law, I made a fairly large afghan.  I was proud of how neatly it was done, flat and even -- until I finished and tried to fold it up.  Oops -- one end was a good six inches longer than the other!

What had happened, of course, was that as I got more comfortable with the yarn and the stitch, I eased up on the tension and the finished fabric got more expansive.

I have taught many beginners how to crochet, sew and embroider, and have watched myself try to learn knitting, weaving, felting, macrame and many other techniques.  In 99% of the cases beginners' work is too tight.  We clench up on the needle or hook or whatever tool we're using, we pull too hard on the thread or the yarn, we hang on too tight to the underlying material.  We grab that quilt in a death grip and resist the pull of the sewing machine; we wrap the french knot so firmly that we can barely pull the needle through; we tug the weft through the weaving so hard that the selvages bow inward. 

(Weavers may correct me on that last remark -- I think some beginners err in the other direction, leaving the weft too loose so the selvages are uneven and loopy.  But that's the other 1% of tension headaches.)

The problem usually disappears with practice; we relax, we learn to let the yarn flow easily, we develop muscle memory so all the stitches have the same tightness throughout the whole work.  In knitting parlance, we automatically maintain the right gauge without having to stop and measure all the time. 

That's not to say we can stitch in oblivion.  It's still good to stop every now and then, lay the work out flat, check how it's coming along.  Note whether your afghan is still the same width as when you started.  Check that the second sock is the same size as the first one.  Make sure your seams are smooth, not drawn up in a ruffle.  Look at the back of your work and see that the threads are well-behaved, not forming tangles and knots. 

It's not just the sewist that can have tension problems -- the machine can too.  In my experience, Bernina sewing machines, which I love, adore and have used exclusively for almost 30 years, have one achilles heel, and that's tension control.  I have had to learn tricks to keep them from spoiling my work: avoiding threads that the machine doesn't like, making sure the bobbin thread matches the top thread so if it's pulled up too far, it will be less visible. 

All these issues are part of mastering the craft of our art.


Monday, February 29, 2016

Fancy screwdrivers -- the scoop


I wrote last week about opening up the top section of my Bernina with what I flippantly called a "fancy screwdriver" and various commentators corrected to "Torx screwdriver," "hex key" or "Allen wrench."  I was moved to do some research and in case you're a hardware nut, here's the scoop.

The Allen socket aka hex socket was patented in 1910 but it is just one of many, many, many variants in screw/screwdriver shape that are designed to improve torque, reduce damage to the screw by reducing slippage, and allow access in tight spaces.  Courtesy of Wikipedia, here are a bunch of other designs:


The closest thing on this chart to the Bernina screw is the Torx, but maybe just a tad off.  The cross-section of the Bernina wrench is a perfect Star of David, with the lines between every other point drawn ruler-straight instead of dipping down a bit as in the Torx diagram.  Maybe it's some fancy European screw that didn't make it onto the Wikipedia schematic.

I guess I don't really care.  But don't run out and buy an Allen wrench if you want to open up your Bernina.

Friday, February 26, 2016

Disaster averted


So I've been a Bernina owner since -- I can't exactly remember, but sometime in the 1980s -- and I don't believe I've ever taken the opportunity to look inside the top section of my machines.  I didn't think you could even go inside if you wanted to.  But this week I had an epiphany.

It started badly, when the top thread got itself terminally caught somewhere inside the tension disk/takeup lever area.  There was a nice long end to it, so I got a good grip and pulled, but nothing happened.  I moved the takeup lever this way and that way but nothing would dislodge the thread.  And of course the mechanism is so well shielded that I couldn't see what was happening in there, just catch glimpses of the frayed end.

I contemplated having to take the machine in to Roy the Sewing Machine Guy (without whom my fiber art career would be a disaster) just to get that thread out, because you can't get inside a Bernina, can you?

Wait -- there's a screw in the middle of the side panel.  Not an ordinary screw, of course, that might yield to one of my dozens of home screwdrivers, but a fancy six-sided-star-shaped screw.  Trust Bernina to be fancier than your ordinary machine.  Roy must have that kind of screwdriver, because he takes care of this machine.

I cussed.  I sulked.  I pouted.  I tried to think of when I could get to Roy's.  I searched around my sewing machine things, found a box full of old presser feet that I never use, and there was no fancy screwdriver in it.

Pouted some more.  Then I found, in the back of a storage compartment at ankle level, the big plastic box that all the Bernina stuff came in when I bought it.  A cute cabinet with doors and little drawers that is stashed away and totally empty because it's totally dysfunctional -- it falls over any time you try to access it with only one hand, and besides, its footprint, with those opening doors, is way too big for my sewing table.

But wait -- it wasn't totally empty.  It held... a fancy screwdriver!

So I unscrewed the fancy screw, got inside the machine and dislodged the thread.  Contemplated how beautifully the sewing mechanism is engineered and how elegantly it moves.


And while I was there, figured I might as well clean things up.  Used my trusty sewing-machine-oil-on-a-QTip method and removed three QTips' worth of disgusting dirt and crud.  Put it back together and I swear it runs more smoothly and quietly than it did before.

Resolution #1: throw out that stupid empty plastic box/cabinet that's taking up space in my storage compartment.

Resolution #2: keep that fancy screwdriver in a more accessible place and go in and clean the machine up every month or so.

Of course there's still the big question: why didn't Bernina just build this machine with a regular screw?


Sunday, May 10, 2015

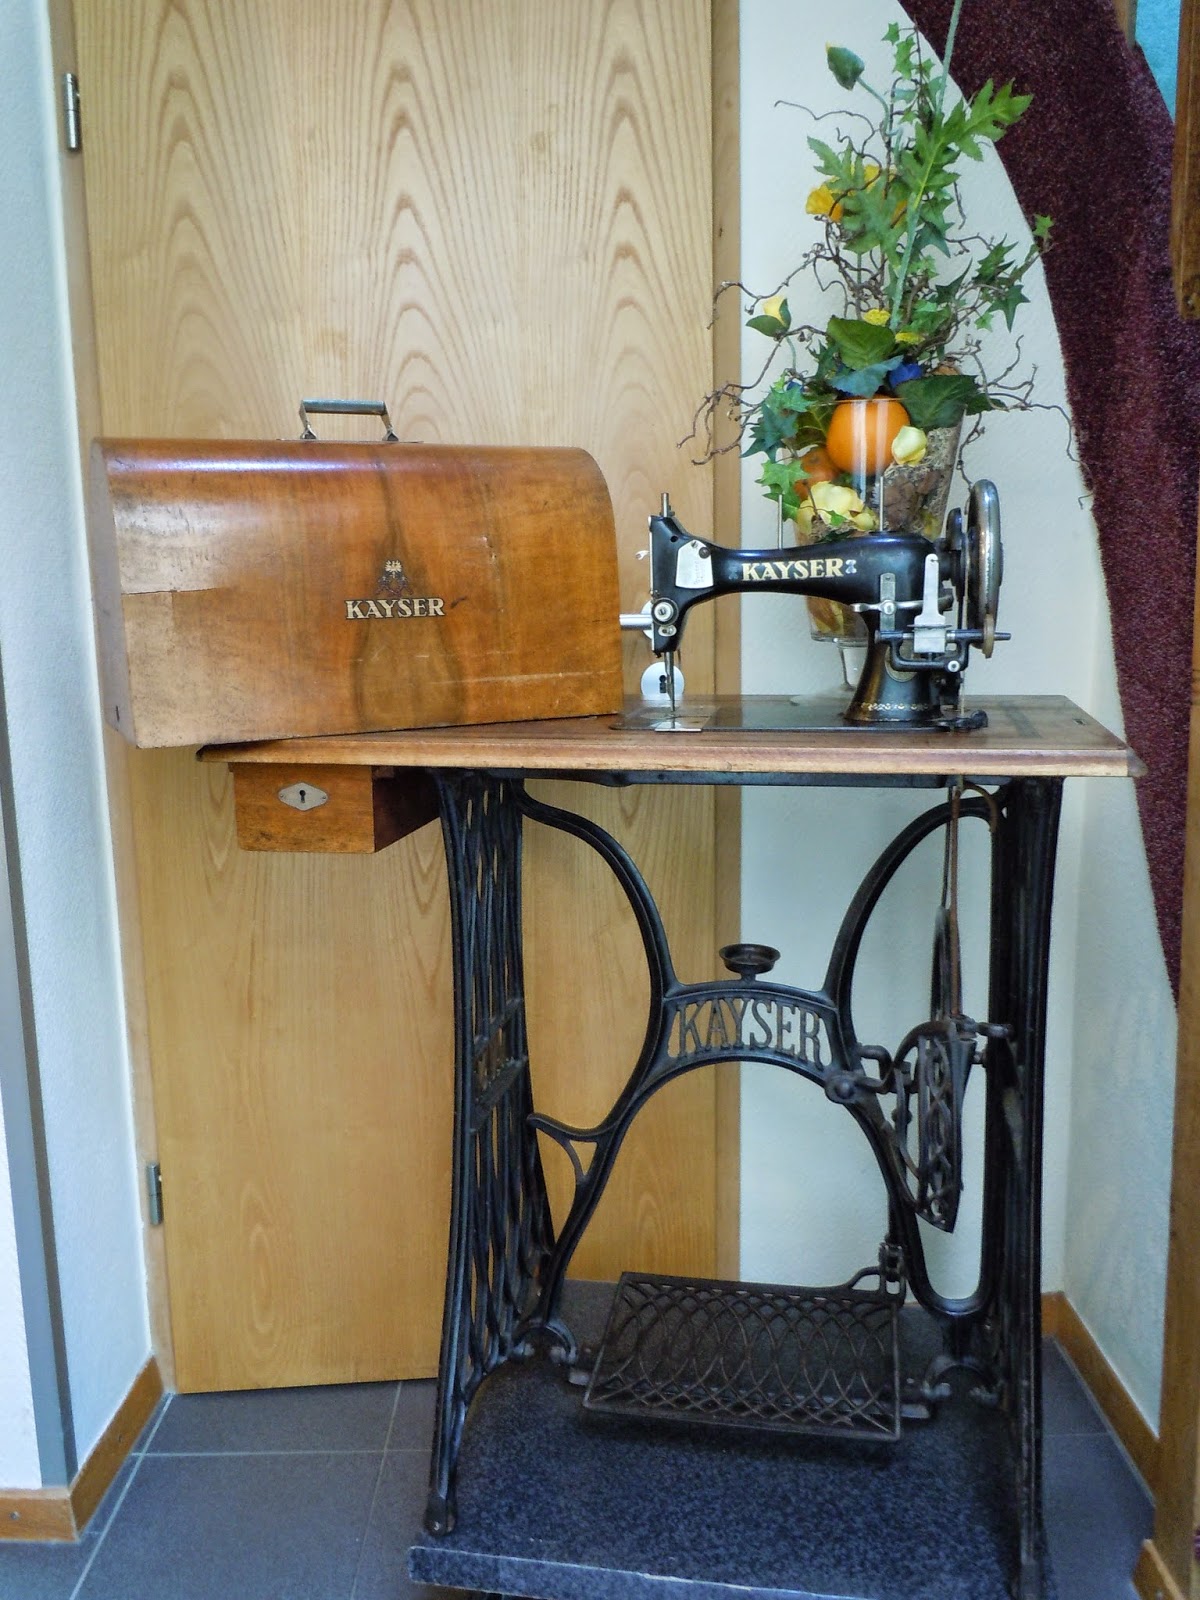
Photo suite 176 -- machines from the past


two machines at the textile museum, Osnabruck, Germany

at the quilting retreat house, Centerfield KY

in the hotel stairway, Bernkastel, Germany

in the woolen mill, Donegal, Ireland

in the touristy gift shop, Rome


Thursday, March 5, 2015

Yuk!


I'm pretty compulsive about cleaning my sewing machine when I'm doing heavy-duty stitching; after several hours I'll open it up and remove all the lint, then go over everything with the oil-soaked Q-Tip.  But yesterday I felt especially compulsive and remembered to put the needle way down so I could clean around the top of it.

And YUK!!!

Here's what I found on top of the needle shaft -- a half-inch-wide ring of densely matted lint with a couple of embedded thread bits.

Moral of the story:  make sure when you clean your machine that you clean on top of the needle as well as in the innards of the bobbin area.

Friday, June 20, 2014

Embroidery goes trendy


So here's my nomination for the most flamboyant use of embroidery I've seen all year.

It's a four-minute music video executed entirely as machine-embroidered animation cels, stitched onto black denim.

Read all about it and watch the video here.

Saturday, March 22, 2014

Sew-off squares -- the back story


When I wrote earlier this week about two small pieces of art that I made from sew-off squares, Linda left a comment:  "I have never heard of "sewn off squares" and can't figure out what you are talking about."  Since these little bits of fabric and thread are so important both to my art and to my craft, I never want anybody to be ignorant of them and never miss the opportunity to give a lecture on this subject.

When you get to the end of a seam, what do you do?  The duh answer is I lift the presser foot, remove the thing I just sewed, and cut the threads.

Ah yes, but contemplate the disadvantages of that approach.  First, it eats up a lot of thread.  You have to pull out at least two or three inches of thread before you cut it, to make sure the needle doesn't come unthreaded when you start sewing again.  And even when you think you've pulled out enough, you might catch the thread on your shirt cuff button or with a pin in your sewing and oops, your needle has to be threaded all over again.

When you're sewing a dress there aren't all that many seams, so these disadvantages don't mean much in the eternal scheme.  But when you're piecing a quilt with a bazillion tiny bits of fabric, you come to the end of a seam every couple of minutes.  Traditional quilters often bypass the problem by chain-piecing -- that is, when you get to the end of the seam, get another pair of pieces that need to be sewed together and stitch directly from seam #1 onto seam #2.  This works particularly well if you have a lot of blocks or parts of blocks to make on a production line, but at some point you run out of seams and have to take the whole thing over to the ironing board or whatever.

Serious piecers have learned that it's good practice to never cut your thread and leave the ends wafting in the breeze.  So if there's no next pair of pieces to sew onto, you sew onto the sew-off square to secure your threads.

sew from the end of your seam onto the little square

cut the thread between the two pieces of fabric

leave the sew-off square under your needle, ready to sew onto your next seam


I had always known about sew-off squares but never been nuts about them until a two-week workshop at the Crow Barn in 2007.  A whole barn full of quilters were sitting there sewing up a storm, and we got to talking about sew-off squares.  Lisa Call was saying that she religiously uses them, and a few of us who were not as conscientious resolved that we would mend our ways and do it too.

As the sewing progressed, it didn't take us long to see that you could make little patterns on the sew-off squares by putting a bit of contrast fabric under the stitching, and by the end of the workshop we had accumulated quite a pile of the little compositions.  My partner in resolution, Barbara Bugliani, eventually turned her collection of sew-off squares into glamorous scarves.  I took another tack, sewing hundreds of them into what I call "grids in space," held together only by threads.

I call the quilts in this series "Postage" because the little sew-off squares are about the size of postage stamps and remind me of a precious time in my life, the six years in which I sent a postcard to my mother every day.  But I'm also using the sew-off squares in other forms of art.

used as texture in a collage


Here and here are some old blog posts in which I showed other projects using the sew-off squares.


Amends, 2013


Keith Auerbach, Woozelated Sew-off Squares, 2011


Monday, April 8, 2013

Stereotyped again

Maybe I'm just crabby, but it didn't help to read the Sunday newspaper and have my teeth set on edge. Consider this story in the "Money" section, headlined "Retirees can convert TIME into MONEY."  Being a retiree, I decided to read it, just to see what kind of stupid "self-help" ideas were going to show up.  I didn't have high hopes -- this signaled from the start that it was going to be a patronizing discourse on how supermarket coupons can turn your poverty-stricken existence into luxury.

Sure enough, supermarket coupons were one of the clever ideas suggested in this column, along with patronizing the thrift store at off-peak hours.  Yes, you read that right -- apparently this guy knows of thrift stores that give you discounts for shopping in the middle of the night or something.  Wow, I feel richer already.

But then came the one that got me mad.

Here's a list of money-saving do-it-yourself activities.  "It's easy to think of examples:" the guy pontificates, such as "growing your own vegetables, making gifts, repainting walls yourself, sewing clothes...."

Sewing clothes saves money?  Has this guy ever been in a fabric store?  Has this guy ever been in Wal-Mart?  Has this guy ever figured out how much it would cost to make a decent shirt or dress or jacket, compared to how much it costs to get one made in Bangladesh?  (Let alone compared to midnight at the thrift store?)  Heck, even the pattern will cost more than the low-end jacket on the sale rack.

I know where this guy is coming from.  Back in a former life I used to write consumer journalism, and I'm sorry to recall that some of it came from the same inadequate thought process: you sit in front of your computer (well, then it was a typewriter, but all the same...), you gaze out the window and you try to brainstorm any conceivable idea that might fit in with your theme, whether or not you have any experience with it in real life.

Hmmm.  Ways to save money -- let's see -- my grandma was very frugal, she used to do laundry by hand at the riverbank, no, that won't work in this story -- oh yes, she used to sew clothes!  Hey, that's frugal!  Homemade is always frugal!  The clothes sure looked homemade but it was sure frugal!  And making gifts, that would be a good idea too.....

Of course life has changed, and sewing your own clothes is no longer a way to save money.  Express yourself creatively, get higher quality craftsmanship, make those pants fit perfectly, indulge your love for fine materials, yes, but save money, no.

Yet the stereotype lives on -- pathetic-but-plucky, self-abnegating mom does humble homemade things on the sewing machine to save money.  (And you poor retirees should do the same!)


Saturday, May 21, 2011

Multiple sewing machines

Jodi commented yesterday on the little bio that runs in the right-hand column of the blog.  "I see you have seven sewing machines   -- any of the them a featherweight, by any chance? Just wondering as I dopily passed up a good deal recently and am still kicking myself!"

No Jodi, there isn't a featherweight.  Even though featherweights may live in the hearts of sewists everywhere, like Santa Claus, none of them lives in my house.

I did learn to sew on a featherweight, but my mom traded it in on a fancier Singer when I was about ten, and that's the machine I used to upgrade from doll clothes to people clothes.  We were so proud of that Singer because it had an accessory that allowed you to do faux zigzag stitching for buttonholes.  The needle didn't move sideways, but this little accessory grabbed onto the fabric and moved it sideways, as well as forward and back, to make the buttonhole.  (Kind of like free-motion quilting, except you have to be the accessory.)

Trading it in -- that's the key word in my reminiscence.  In those days of course we traded in an old machine upon buying a new one.  Why on earth would you need two?  Why on earth would you want to keep that old outdated featherweight?  Sure enough, after I inherited mom's aforementioned Singer with the faux zigzag, I eventually traded it in on one with a real zigzag, and then traded that one in on my first Bernina.

But when it came time to upgrade to a new Bernina, the lady at the fabric store gave me the best advice I've ever received in terms of equipment.  When I inquired about a trade-in, she said don't do it!  You won't get that much money for it, and it's always better to have a spare machine on hand.  And boy, was she right! 

When the machine has to go into the shop, you're not left unplugged for a week or two or three.  When you go to a workshop, just grab your other machine and go -- you don't have to undo your entire sewing setup (which in my case involves crawling under the table to untwist twist ties galore and unthread the cords from their serpentine paths).  When a friend comes over for a play day, she doesn't have to bring her own machine.  When your granddaughter learns to sew, set her up permanently with her very own machine so you can quilt side-by-side.

Zoe with HER machine


Here's my current roster of machines:
  • my main machine, a Bernina 440, which is securely affixed to my sewing table with a lot of twist ties
  • my backup machine, a Bernina 1630, which I would have never abandoned except for its nasty habit of irregular tension so that the back of the quilting wasn't up to show standards, but its straight stitch is just fine and it likes to go to workshops with me
  • Zoe's machine, a Bernina 1020, which I never would have abandoned except it had no knee lift or automatic needle-down feature, and how can you be a serious quilter without those doodads?
  • my Babylock serger, not used so much now that I have given up garment sewing, but every now and then it comes out of hiding to do a good deed
  • my late mother-in-law's sewing machine, an old clunky Singer portable, which I have never taken out of its case, but after she died and we cleaned out her apartment, I knew the machine needed to go to a loving retirement home, not to the dump
  • an old Bernina 800 that I bought from somebody at a Nancy Crow workshop several years ago and almost immediately gave me buyer's remorse because it had lost its work tray and isn't very usable in its current condition, but someday I may find a tray on eBay or something, or sell it to somebody else
  • a Juki 600, my newest machine, graciously presented to me by the Juki Company after I taught workshops in Japan last year where the participants used these models, and I fell in love with the huge work tray; this is the one I'm going to use on my next huge quilting project.
However, nothing from my mom.  Nothing from my grandmother, the greatest sewing wizard of our family (she had a treadle Singer, which my grandfather later electrified for her).  And no featherweight.